You’re a designer, so you already know that vector graphics are delicate assets that can lose their quality if poorly manipulated. But right now, you want to remove the background from a logo image or a different vector file. So, how do you do that in Adobe Illustrator without reducing your picture's quality?
There are three best ways to remove backgrounds in Adobe Illustrator.
Use the Image Trace feature to vectorize and remove plain backgrounds in six steps.
Try the Magic Wand tool to remove solid or consistent color backgrounds on vector files in four steps.
Pick the Pen tool to erase backgrounds from complex images by creating a custom outline and clipping mask, all in seven steps.
I’ll walk you through each method in this article, explain the image types they’re best suited for, and clarify how to download your edited image to avoid losing its transparency. But I’ll also show you a much better and faster tool you can use to erase backgrounds from your images while preserving their fine details.

What’s the difference between background removal in Illustrator and Photoshop?
Since its launch in 1987, Adobe Illustrator has become the industry standard for making art-related creative materials. The tool is best for editing vectorized graphics like logos, typefaces, illustrations, and infographics. But, compared to Photoshop, there are only a few methods for deleting image backgrounds.
With Photoshop, you can remove backgrounds using several tools, including simple tools like the Adobe Remove Background feature and more complicated ones like the Pen Tool. Photoshop is more suitable for editing rasterized graphics — images made up of pixels (which determines their quality) and aren’t as scalable as vectors.
Want to try Photoshop for background removal? Follow our step-by-step guide on the easiest ways to remove backgrounds in Photoshop.
1. How to remove background in Illustrator using Image Trace
Using the Image Trace feature involves vectorizing the image before removing the unwanted background. This method is most suitable when your image has a simple or plain background. The more colorful your picture's background, the more time it takes to select and delete the colors.
Here’s how to use the Image Trace feature to remove the background of an image:
With your image open in Adobe Illustrator, click View in the menu bar. Then click Show Transparency Grid.
Click on the Direct Selection tool (black arrow) in the toolbar and select the image by clicking on it.
Go to Window in the menu bar and select Image Trace to open the Image Trace window. In the Image Trace panel, choose High Fidelity Photo under Preset for the best results and wait for the image tracing process to complete.
Close the Image Trace panel. Go to Object in the menu bar and select Expand. Click OK in the Expand panel to convert the traced image into a vector.
Click outside the canvas, then click on the picture’s background and press the Delete key on the keyboard to remove it. Click on any other part of the background that’s still in the image to delete.
Finally, click File > Export > Export As. Rename your file if you want, and choose PNG in the file format option. Click Export, and a PNG Options box will appear on your screen. Leave the Background Color option as Transparent in the box, then click OK to save your image.

You might also be interested: Add a green background to your pictures
2. How to remove backgrounds from images with the Magic Wand tool in Illustrator
It’s best to use the Magic Wand tool when your picture’s background has a solid color or consistent color range. The tool is designed for vector files like EPS, SVG, or AI and may not work at all on raster images.
Here’s how to delete backgrounds with the Magic Wand tool:
Open your image in Illustrator, click View on the menu bar, and select Show Transparency Grid.
Choose the Magic Wand tool from the toolbar. Click on the background or objects you want to remove. The Magic Wand tool will identify and select the regions with similar colors based on your click. To add more elements to your selection, hold down the Shift key and click on the part of the image you want to add. To remove from your selection, press Alt or Option (macOS) and click to remove elements.
You can adjust the tool’s settings (colors, opacity, or weight) to find the right balance for your image.
After selecting the areas you want erased, press Delete on your keyboard to remove the background you selected and delete multiple objects. Remember to double-check your selection before deleting. When you’re done, export your file in PNG or AI format. Avoid exporting in Jpeg image format as this will reverse the transparency, leaving your image with a solid background.

3. How to make a background transparent using the Pen tool in Illustrator
If you’re dealing with complex images or the photo’s subject has detailed edges, then the Pen tool is your best option. The tool makes the background removal process more flexible, allowing you to create a precise and custom outline around the subject in the image.
Making a transparent background with the Pen tool involves creating a clipping mask. Here are the steps to follow:
Open your image in Adobe Illustrator and set the Fill and Stroke option (lower corner of the toolbar) as None. Click View on the menu bar and select Show Transparency Grid.
Go to the Layers panel and click on Create New Layer. Next, click on the space beside the blue line to lock Layer 1 (the layer with the image).
Select the Pen Tool from the toolbar, then trace around your subject by creating points. It doesn’t have to be perfect but try to trace around the main points of the subject. To finish the selection, click from your last point to your starting point, and it will close the path.
Choose the Selection tool from the toolbar (or press V on your keyboard) to make your selection.
Return to the Layers panel and unlock the layer you locked earlier. Then select Layers 1 and 2. To select both layers, point your cursor on the right-hand end of the layer you want to select, then click the Shift and the left mouse button on your keyboard. A good way to know if you’ve selected the layer is that the small red or blue squares on the far right end will appear afterward. You have to select both layers for the next step to work.
Press Ctrl+7 (Command+7 on Mac) to create a clipping mask. This will remove the background outside your traced selection.
To download, click File > Export > Export As. Rename your file if you want, and choose PNG in the file format option. Check the Use Artboards option. Click Export, and a PNG Options box will appear on your screen. Leave the Background Color option as Transparent in the box, then click OK to save your image.

Remove image backgrounds for beginners
Background removal doesn’t have to be a chore. With the right photo editing tool, you can make transparent backgrounds faster and work with different file formats without worrying about them being a good fit.
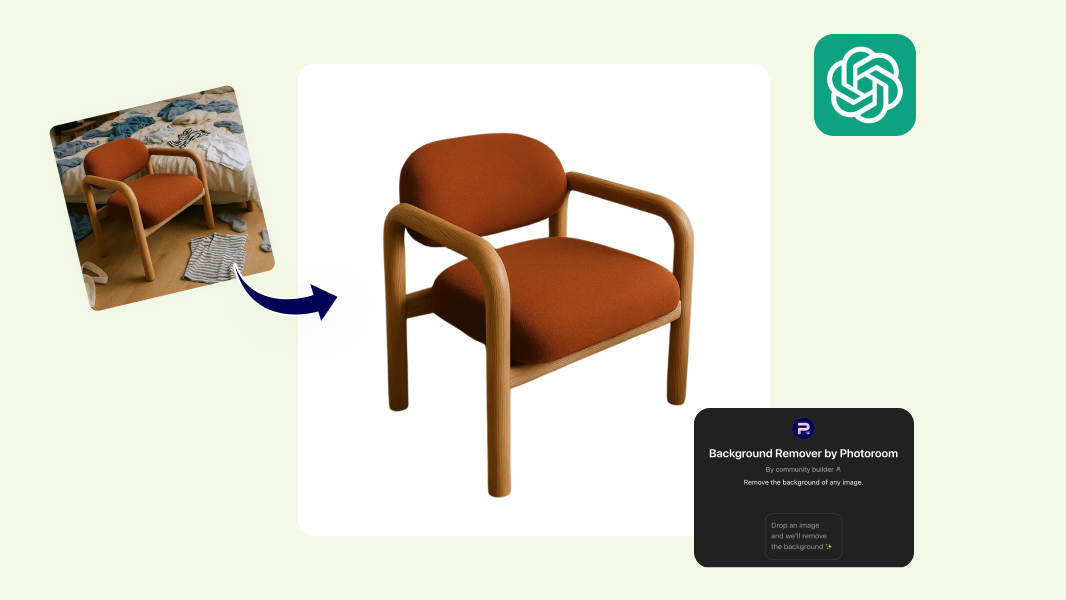
With Photoroom, it’s easy to automatically erase backgrounds and turn your images into versatile assets that blend well with any design or platform.
📘 Read more: The 3-step guide on removing backgrounds in Photoroom

You can even go a step further and use more smart tools in the app to enhance your picture’s details and create beautiful backgrounds with generative AI.
The benefits are endless and double up if you’re designing for businesses or are a business owner yourself. You can resize your image for marketplaces like Etsy, batch edit images to speed up your editing workflow, and easily collaborate with your team on photo edits. PhotoRoom is the smarter way to edit your photos.
“Photoroom is far better than all the others in the market,” says Mike Jay, a creator and product image editor who uses the Remove Background feature to save time, adding that “I am happy to pay for the Pro version because an edit that takes you three to five minutes takes three to five seconds in Photoroom, and if you do that like three or five times a day, and then over weeks and months, it saves a lot of time. It's just worth paying for.”
How to remove backgrounds in Illustrator FAQs
How to make a background transparent in Illustrator?
To make a background transparent in Illustrator, there are three best methods you can use. First, try the Image Trace feature by vectorizing the image and separating the background from the foreground object to delete the unwanted background. Second, use the Magic Wand tool to select and remove solid color backgrounds. Third, use the Pen tool to create a detailed outline around the subject, then make a clipping mask to remove the background. These methods help keep your image’s quality while making the background transparent.
How do I remove the background from an image?
First, sign up or log in to Photoroom on the website. Click on Remove Background in the dashboard. Upload your image, and the tool will automatically remove the background. If you need to touch up any part, click on the object's icon, select Edit Cutout, use the brush in Erase mode, and brush over the area you want transparent. Click Confirm to finalize the changes. Finally, click Download to save your image as a PNG file.
How do I get rid of the white background in Illustrator workspace?
To get rid of the white background in the Illustrator workspace, go to the menu bar and click on View. Then select Show Transparency Grid. This will replace the white background with a checkered pattern, indicating that the background is now transparent.
Related articles: