


How to resize an image: 4 methods and best practices
Almost every major platform, application, or website has its own specifications for how big or small images need to be. Some have very specific dimension requirements, others only accept certain file types, and others block uploads for files that are too big. This is why, if you use the internet, you need to understand how to resize an image quickly and efficiently.
This article will walk through the basics of resizing an image and share four free online image resizer tools that will help make this process quick and easy.
The basics of resizing an image
Image resizing is the process of changing the dimension of a digital image. This may include changing the file size, resolution, dimensions, or all three of these attributes to alter the appearance and output for that specific image.
Before diving into best practices for image resizing, it’s important to understand the basics. Digital images are composed of pixels—tiny dots of color that come together to form the overall picture. Each image has a certain number of pixels when it's first created. Resizing an image, therefore, is the simple process of adding or subtracting those pixels, thereby changing the image’s dimensions, resolution, and file size.
The reasons for image resizing are varied. You may want to reduce the file size for one or more images to save storage space or make sharing easier. Or, you may need to alter the dimensions and file size for an image to meet specific requirements for printing or use on the web.
Generally speaking, image resizing comes in two forms:
Making the image bigger (upscaling) by increasing the dimensions, adding or stretching pixels, or increasing the file size.
Making the image smaller (downscaling) by decreasing the dimensions, subtracting or contracting pixels, or decreasing the overall file size.
In both cases, the goal is likely to retain the aspect ratio for that image—the relationships between its width and height—so that it doesn’t look distorted. Resizing an image, therefore, is about adding or subtracting from an image file to meet specific needs, rather than other forms of manipulation like cropping.
Because of that, it’s important to understand that resizing an image can affect its quality, potentially leading to pixelation or a loss of detail. To avoid this, proper tools and techniques should be used to ensure that the image size can be manipulated to meet the user’s needs, without losing image quality.
Key considerations when resizing an image include:
Maintain adequate image quality
Avoid upscaling an image too drastically. Instead, consider reproducing an image at a larger size and resolution. If smaller images are needed, use the proper tools to ensure output files are of a suitable resolution.
Use appropriate aspect ratios
Image resizing isn’t about cropping or distorting an image. This is a different process entirely. When resizing, always keep the aspect ratio consistent so that you can use the image properly once exported. Modern tools can help alter the original aspect ratio of the image so that it remains proportional, but also aligns with the required image specs.
Export to the proper file formats
Different image files, like JPG and PNG, lose and retain pixels in different ways, impacting resolution and image quality. Users should familiarize themselves with image export files, and take note of the requirements for the platforms on which they’re working.
Of course, all of the above considerations will be dictated by what you need to do with the file afterwards. If the image is for an email campaign, then it will likely require a smaller image size and lower resolution. Print, on the other hand, required large file sizes and high resolution.
You might also be interested: Add a green background to your pictures
Common reasons to resize an image
There are nearly endless reasons why you might want to resize an image, ranging from a corporate marketing campaign to social media posts, all the way down to cramming as many vacation photos into an external hard drive as possible.
Typically, however, people will resize images to fit one of the following needs:
Upload to social media
Platforms like Instagram, Facebook, X, and YouTube are all very particular about the image specifications they allow of their sites. This is particularly true for aspect ratios, with each platform requiring images to be within a specific width x height range.
Websites or online platforms
Building a website, adding images to an online profile, or uploading products for sale online will all require images. Like social platforms, most websites have guidelines and requirements for their image sizes. Chances are, if you interact with these websites or platforms enough, you’ll have to resize an image.
Printing images or designs
Getting a high-quality print out of a digital image requires that the source file be of a very high resolution and, typically, specific dimensions.
Regardless of why you need to resize an image, chances are you won’t want to spend a lot of time doing it. Luckily, there’s no shortage of tools on the web (and personal computers and phones) to help with that.
Revamp your photos effortlessly with our free photo editor tools. Simple tools, stunning results—start editing now!
4 tools and software for image resizing
Image resizers are native to virtually every paid photo editing software. But there are a ton of free options as well for anyone with a Mac, PC, and/or an internet connection.
Here are four options that anyone can start using today.
1. Photos app (Windows users)
Photos app is an out-of-the-box application available to all Windows (PC) users. It’s typically the default application for opening images on a PC, and is a quick and easy image resizer tool for making basic image edits and resizes.
2. Preview app (Mac users)
This is Mac’s native application for opening and browsing images on all macOS devices. It operates similarly to Photos app (with a Mac twist, of course), but comes with the ability to resize pictures both individually and in bulk.
3. Adobe Express
Adobe is synonymous with Adobe Photoshop, arguably the most powerful photo editing and manipulation software on the market. PS can obviously handle basic to complex image resizing tasks, but it’s likely overkill for the casual user. To bridge this gap, Adobe launched Adobe Express. This includes a very basic online image resizer, along with a free (with an account) online image editing interface that lets you resize and export images with pre-set or custom dimensions and spec.
4. Photoroom
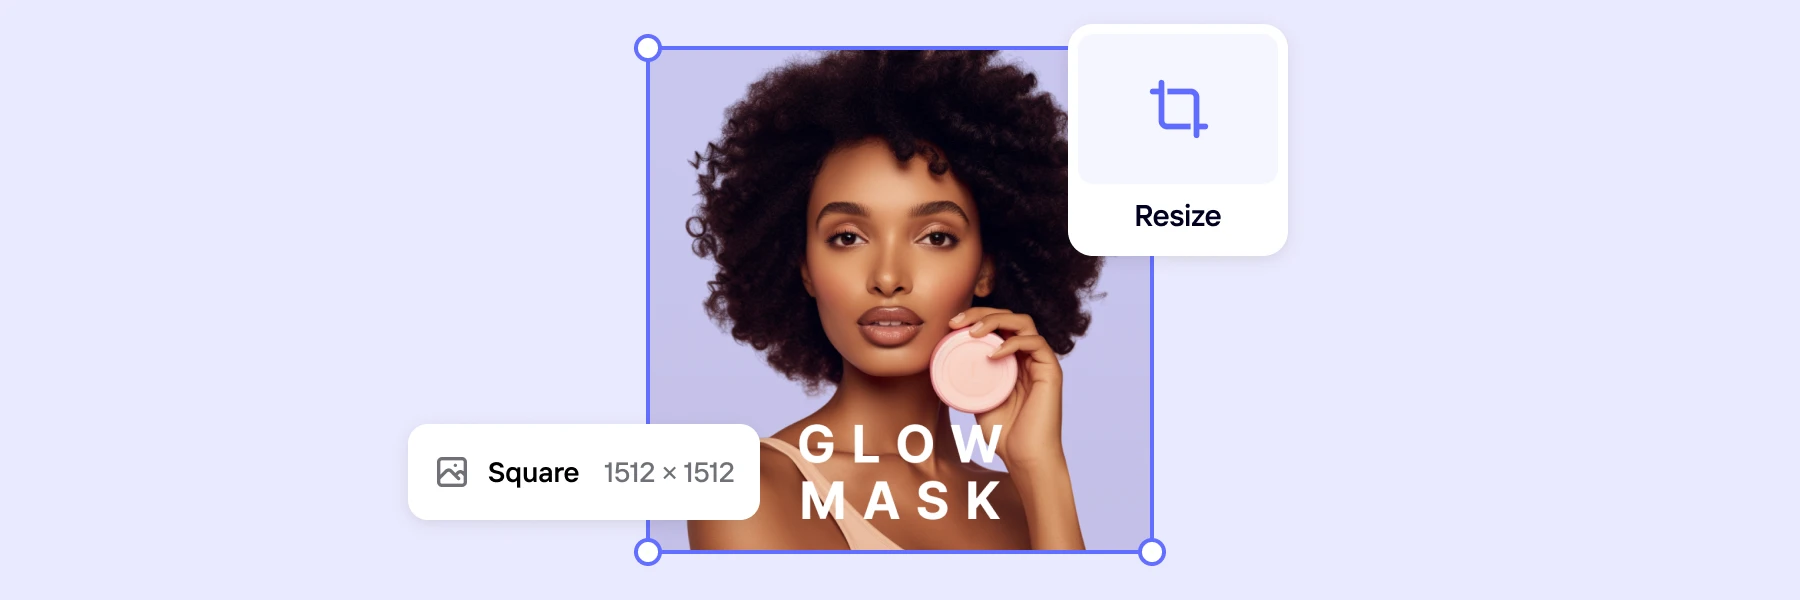
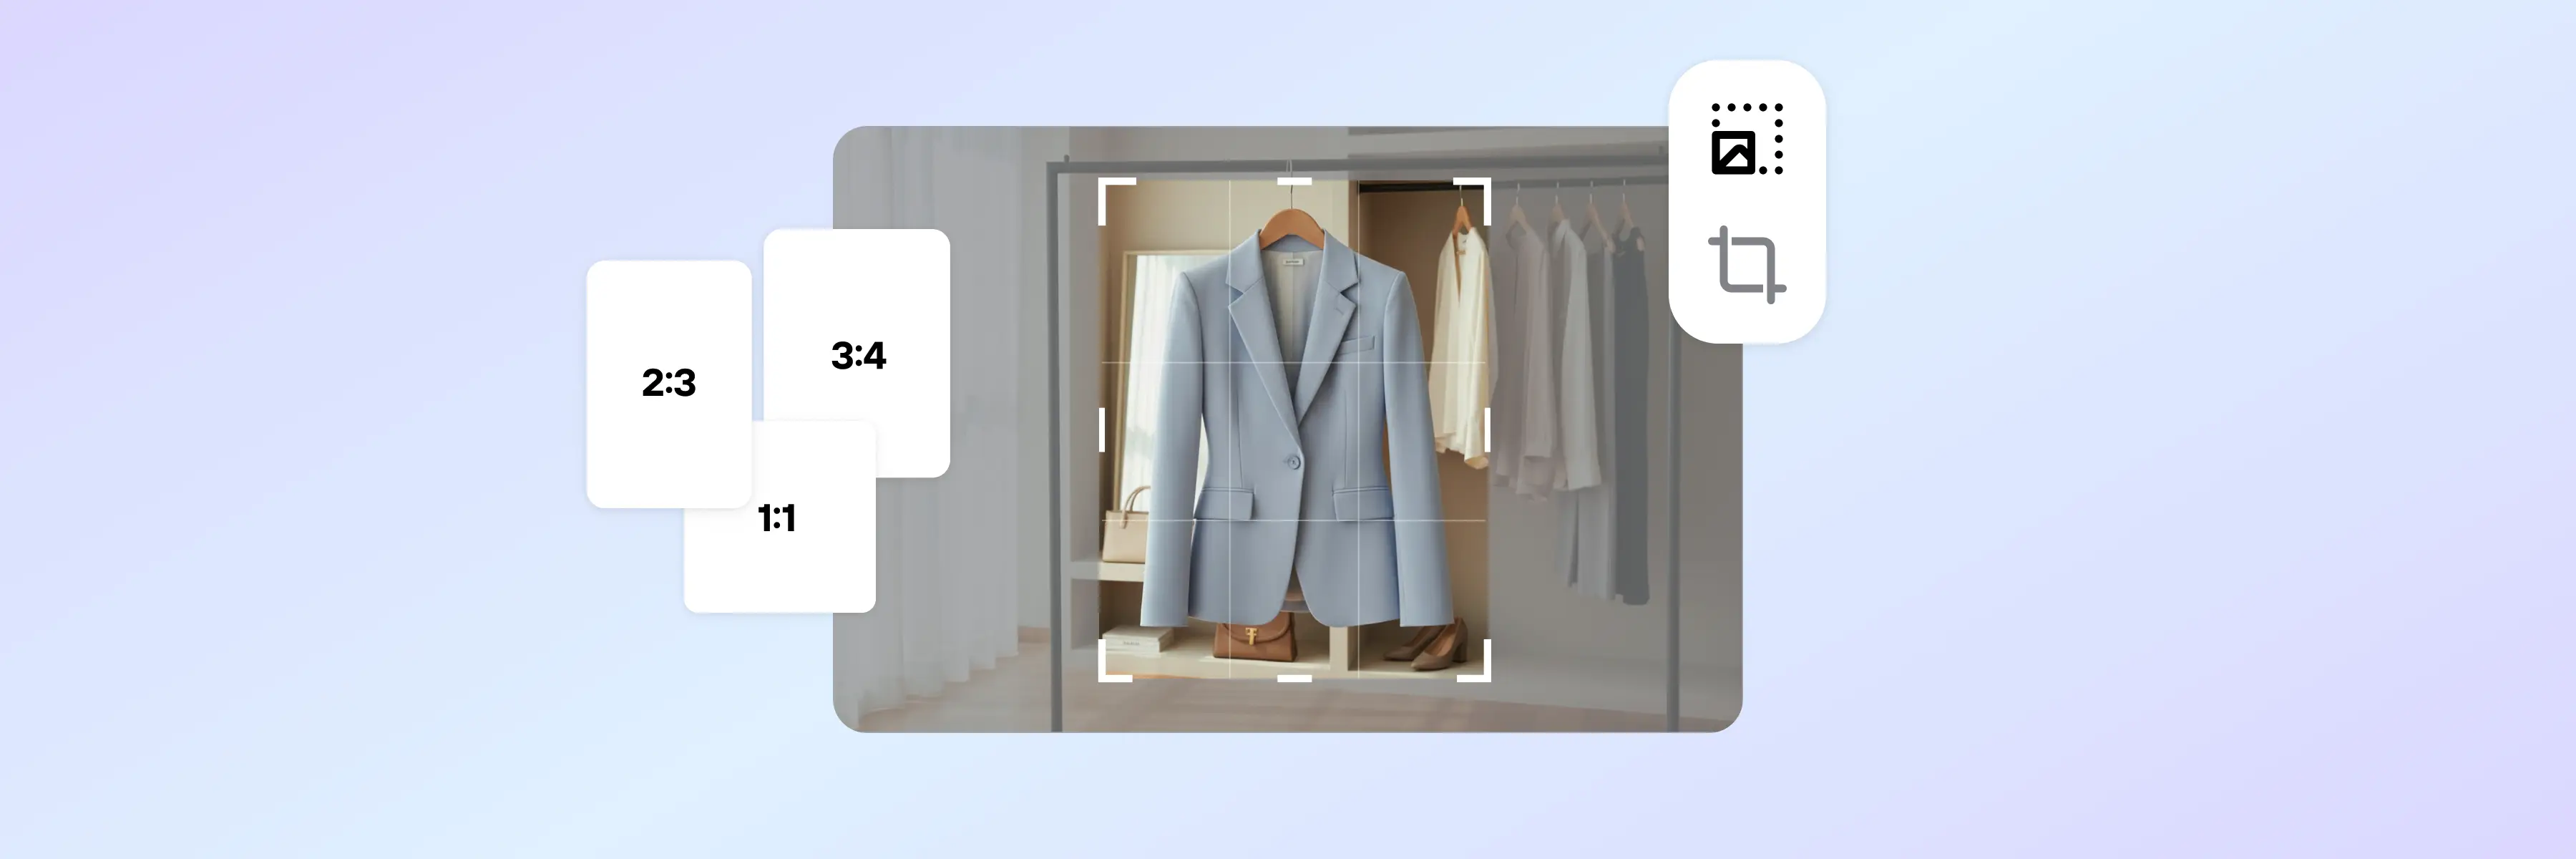
This is both an online platform and a mobile application that offers free and premium image resizers. Both versions let you upload an image to the app, and will automatically give you a wide range of new aspect ratios to choose from, including standard sizes, and pre-set specs for social media and ecommerce marketplaces. Photoroom’s image resizer uses AI to prevent you from losing image quality, regardless of the change to the original aspect ratio. The premium version, available through Photoroom Pro, offers Batch Mode, allowing you resize multiple images at the same time.
Each application has its merits and use cases. Native applications are perfect for day-to-day uses. Purpose-built applications are great for resizing at scale and for ensuring control over the image output quality. In the next section, we’ll walk through how to use each tool.
How to change the size of an image: Process by application
Now that we’ve introduced some tools to help with image resizing, let’s talk about how each of them work.
Using the Photos app to resize images
Find the photo you’d like to resize in your Folders. Double click it, or right click and select “Open”.
Photos should be the default application for opening images. If it’s not, right click, select “Open With” and then find “Photos”.
Once open, click “...” in the menu bar, then “Resize Image”.
This will open the Resize menu area, as shown below. This gives you a variety of options for resizing your image.
Specify new dimensions for the image, adjusting by either pixels or percentage.
Adjust the image quality up or down (high image quality also means larger file sizes)
Select the file type for the new image (options are JPG, PNG, TIF, or BMP)
As you adjust, you’ll see a tally of your current file specs, and the new ones. This will help you balance dimensions, resolution, and file size.
When you’re done, click “Save”. The program will give you the option to save the resized image as a new file, or to overwrite your existing one.

Using Preview to resize images
In Finder, locate and open the image you want to resize. Preview is likely your default for opening images. If not, right click > “Open With” > “Preview”.
Once open, click “Tools” in the top menu bar on your computer, and select “Adjust size”.
This will open a resize window similar to the one shown above in the Photos example.
Choose from the presets available in the tool, for create a custom size based on:
Dimensions (in pixels, centimeters, or inches)
Desired resolution
Percentage of the original size
As you work through the specs, Preview will show you the adjusted resolution and file size for the new versus old image.
When finished, click “OK”.
Be aware—saving this way will override the original image. If you want to retain the original, make a copy of the image file and then resize that new file.
To resize in bulk, select all the images you want to resize in Finder and open with Preview.
Once in Preview, select all of the image thumbnails, and then start the process outlined above.
Using Adobe Express to resize images
As mentioned, Adobe offers a free, online image resizer (in addition to its enormous older sibling Adobe Photoshop).
To use it, navigate to adobe.com/express/feature/image/resize.
You’ll be greeted with a page that looks like this.
Click “Upload your photo”.
From here, click the “Resize for” dropdown to see preset sizes for various social channels. You can also select custom dimensions based on your needs.
Adobe Express also gives you the option to scale the image in or out, allowing you to reframe the image as the preset or custom dimensions change.
Once you’re done, click “Download” to get your final image. That’s it! No need to pay Adobe Photoshop subscription fees to resize photos.

Using Photoroom to resize images
Image resizing through Photoroom is available on the web or via the mobile app. We’ll walk you through how to do this on the app.
Open the Photoroom app on your mobile device.
Below the search bar, scroll the icons over to “Resize” and tap.
Find the image you want to resize in your camera roll, select, and upload it to Photoroom.
Once in the app, you have a few options to resize:
Select whether to “fit” or “fill” the resized image to the new dimensions. Fit retains the same aspect ratio, regardless of image size, and will add white space to the edges where needed. Fill will ensure your image covers the entire image canvas, changing the framing and composition depending on the new dimensions.
Next, select the output size you need. There are dozens of preset options for social media and ecommerce marketplaces ready to go.
When you’re finished, tap “Done”.

You’ll have the chance to add additional image features like text, shadows, or filter layers before exporting.
If you’re good to go, tap on “Export” to download the final image to your phone.
Photoroom Pro users can scale that process even further using Batch Mode. This allows you to upload and resize multiple images at the same time.
On the app homepage, tap “Batch” at the bottom of the screen, and then “Start New Batch”.
Select all of the images you’d like to edit and tap “Add X images”.
Tap on the new batch, select “Resize", and you’re off to the races with the same process outlined above.
Make resizing images faster and easier with Photoroom
You never really know when, why, or how frequently you’ll need to resize an image. It’s just one of those things that pops up randomly for everyone who uses the internet. What you can predict, however, is the tool you use to handle those resizes.
Photoroom makes this process faster and easier, giving you instant access to dozens of pre-set image sizes for all of your favorite platforms.
Try Photoroom for yourself today. It’s accessible on both mobile devices and desktop, and can be downloaded from the App Store, the Google Play Store, or by using Photoroom Web. Set up your account in less than a minute, and start saving time and focusing on more important tasks right away.
How to resize an image FAQs
What’s the difference between resizing and cropping?
Image resizing is the process of altering an image's dimensions, resolution, and file size, often while retaining its aspect ratio. Cropping involves the removal of part of the image to alter its composition and framing.
What’s the best way to resize an image without losing quality?
There are a few tactics that will ensure you can resize an image without losing quality:
Start with a high quality image and scale down to avoid losing pixels in that image
Resize incrementally, rather than making drastic changes to the images
Resize from the original image, rather than resizing an image that has already been altered
Maintain the original aspect ratio when resizing to avoid distorting or altering the image
Use a lossless or less lossy file type like PNG, RAW, or BMP
Related articles

Brendan McConnellI write about e‑commerce photography and image editing tips.