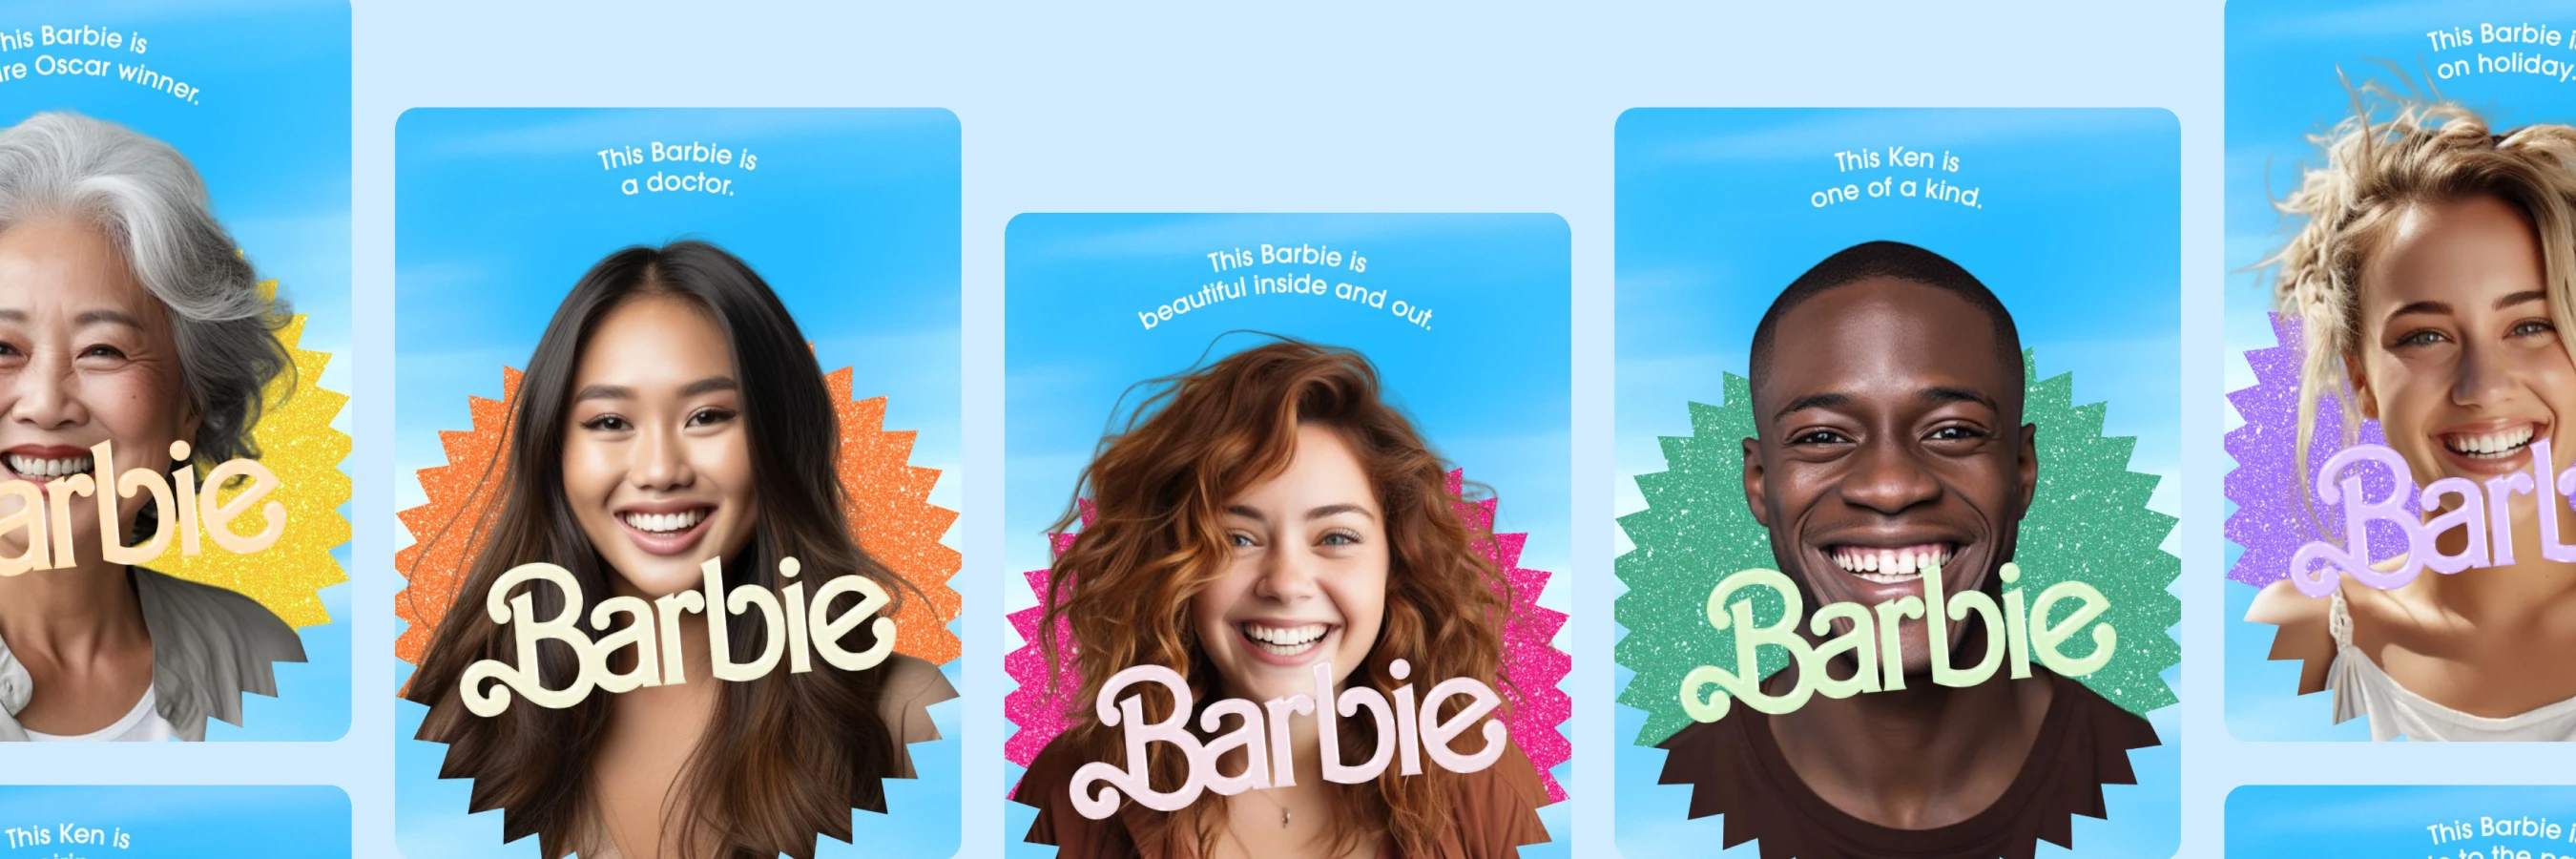
Have you heard about the marketing campaign to promote the upcoming Barbie movie? This very successful campaign, which went viral and generated millions of shares on social media, was powered by Photoroom’s Remove Background API!
In this article, we want to show you how easy it is to build a web app that offers the same set of features, simply by leveraging the Photoroom API (and maybe a bit of JavaScript!).
Feel free to give the web app a try, it’s available here: https://photoroom-api-web-demo.vercel.app
 You will need an API key, you can get it here: https://app.photoroom.com/api-dashboard
Important: This tutorial focuses on the key parts of the implementation. If you want to experiment with the code, I recommend you check out the full codebase, which is open-source and available on GitHub.
Step 1: Uploading an image to Photoroom’s API
To allow users to pick the image they want to use, we can use a standard <input> tag:
<input type="file" id="image-input" accept="image/*">Then, we need to upload the file to Photoroom’s API.
The implementation is pretty straightforward since the API call is a standard HTTP POST:
async function removeBackground() {
    const formData = new FormData()
    formData.append("image_file", imageInput.files[0])
    formData.append("format", "png")

    const response = await fetch("https://sdk.photoroom.com/v1/segment", {
        method: "POST",
        headers: {
            "X-Api-Key": apiKey,
        },
        body: formData,
    })

    if (!response.ok) throw new Error("Failed to remove background")

    const blob = await response.blob()
    return await loadImage(blob)
}
note that you need to provide an apiKey in order to call the API
Step 2: Compositing the image
After we have received the image with the background removed, we need to use it to compose the final image.
The trick to getting to the final image is to place the background-less image between a background and an overlay layer:
 The code that implements this process is inside the function
 drawImageWithOverlay():
async function drawImageWithOverlay(image, text, scaleFactor = 1, rotation = 0) {
    // load the backround and overlay images
    const background = await loadLocalImage("assets/background.png")
    const overlay = await loadLocalImage("assets/overlay.png")

    const canvasHeight = 1920
    const canvasWidth = 1080

    const scale = Math.min(canvasWidth / image.width, canvasHeight / image.height)
    const scaledWidth = image.width * scale
    const scaledHeight = image.height * scale

    // create the canvas to compose the images
    const canvas = document.createElement("canvas")
    canvas.width = canvasWidth
    canvas.height = canvasHeight
    const ctx = canvas.getContext("2d")

    // Draw the background
    ctx.drawImage(background, 0, 0, canvasWidth, canvasHeight)

    // Adjust offsetX and offsetY to keep the image centered
    const offsetX = (canvasWidth - scaledWidth) / 2
    const offsetY = (canvasHeight - scaledHeight) / 2

    // Draw the image with the removed background
    ctx.drawImage(image, offsetX, offsetY, scaledWidth, scaledHeight)

    // Draw overlay on top
    ctx.drawImage(overlay, 0, 0, canvasWidth, canvasHeight)

    return canvas
}
This function contains a bit of code, but the gist of it is pretty simple:
we create a canvas and draw the background image
then, we scale the user’s image and draw it on top
finally, we draw the overlay image on top of everything else
Step 3: Adding the text
We’re almost there, we only need one last thing: allowing the user to input some text and overlaying it on the image.
Allowing users to set the text is simple: once again we use a standard <input> tag:
<label for="overlay-text" style="display: block; margin-bottom: 0.5rem;">This person is</label>
<input type="text" id="overlay-text" placeholder="Enter text overlay here..." maxlength="46">
The more challenging part is to draw the text on the canvas, with the curvature taken into account.
For this, we need to add some code to the function drawImageWithOverlay()
// Add text overlay
const fontSize = 58 // Increased font size
const curveRadius = 400 // Adjusted curve radius for less curvature
const centerX = canvasWidth / 2
const centerY = canvasHeight / 2 - 300
const whiteSpaceWidth = 15
const lineHeight = 58

ctx.font = `bold ${fontSize}px 'DM Sans', sans-serif`
ctx.fillStyle = "#000000"

const lines = ['This person is ', text]
let cursorPositionY = 0

// Iterate over each line of text
for (const line of lines) {
    const lineWidth = ctx.measureText(line).width
    const words = line.split(" ")
    const totalAngle = lineWidth / curveRadius
    const startAngle = (-Math.PI - totalAngle) / 2
    const endAngle = startAngle + totalAngle

    let cursorPositionX = 0

    // Iterate over each word in the line
    for (let i = 0; i < words.length; i++) {
        const word = words[i]

        // Iterate over each character in the word
        for (let j = 0; j < word.length; j++) {
            const char = word.charAt(j)
            const charWidth = ctx.measureText(char).width

            const x = cursorPositionX / lineWidth
            const angle = startAngle + x * (endAngle  - startAngle)

            ctx.save()
            ctx.translate(
                centerX + curveRadius * Math.cos(angle),
                centerY + curveRadius * Math.sin(angle) + cursorPositionY
            )
            ctx.rotate(Math.PI / 2 + angle)
            ctx.fillText(char, 0, 0)
            ctx.restore()

            cursorPositionX += charWidth
        }

        cursorPositionX += whiteSpaceWidth
    }

    cursorPositionY += lineHeight
}
As you can see, this code is quite complex, but here’s the logic behind it:
We iterate over the lines of text
For each line, we compute the coordinates of the semi-circle that we will use as a baseline
Then, we iterate over each word and each character in order to draw each character on that baseline with the correct rotation
Step 4: Downloading the image
We’re almost finished, all that’s left to do is add a button that will allow users to download the final image so that they can share it on their social media!
To do this we’re first going to add a <button> to the HTML:
<a id="download-button" href="#" download="result.png" style="display: none;">
    <button>Download</button>
</a>
And then we will add the code to handle the download:
const finalImage = await drawImageWithOverlay(segmentedPhoto, text)

const downloadButton = document.getElementById("download-button")

finalImage.toBlob((blob) => {
    const url = URL.createObjectURL(blob)
    downloadButton.href = url
})
Here the strategy is quite simple:
we take the content of the canvas
we turn it into a binary file representation
we set the
hrefof the download tag to the URL of that binary representation
Conclusion
That’s it, thanks to the Photoroom API and a bit of 2D drawing code in JavaScript, we’ve been able to implement a simple web app that lets users upload selfies and customize them using pre-defined visual assets.
From that point, it would be pretty easy to reuse this web app for an actual marketing campaign.
All you would need is to replace the background, overlay, and text font with the actual branded assets you want to use for the campaign.
For more details about all that can be achieved using Photoroom’s API, check out this page on our website!
Learn AI-driven marketing from Barbie and Warner Brothers
The Barbie selfie generator garnered attention of millions of fans, and helped Barbie the movie become a household name. Watch our webinar on launching viral marketing with AI. where we:
Provide an overview of Barbie, the movie's social media campaign.
Share how you can create a unique and engaging experience with our API.
Demo our AI solutions and how to accelerate your ad testing and deliver strong return on advertising spend (ROAS).