For product teams, flat lay photography is a simple way to create highly standardized product images without spending weeks laboring over edits. When executed well, these images present products clearly and consistently—two things that are important to catch a customer’s attention and convince them to hit “Purchase.” And for e‑commerce teams managing large catalogs, flat lay photography is easy to standardize at scale.
In this guide, we’ll show you how to create and edit professional-quality images without the added expenses of a full studio, and how to use Photoroom’s Flat Lay tool to save time and resources in post.
Table of contents:
What’s flat lay photography?
Flat lay photography, also called lay down photography, uses an overhead angle to capture objects arranged on a flat surface. The camera points straight down over the objects for a bird’s-eye view that flattens the perspective.
This technique is widely used in e‑commerce listings, catalogs, and merchandising workflows because it’s easy to standardize. When every image follows the same setup, teams can produce large volumes of visuals without having to brainstorm a design for each one.
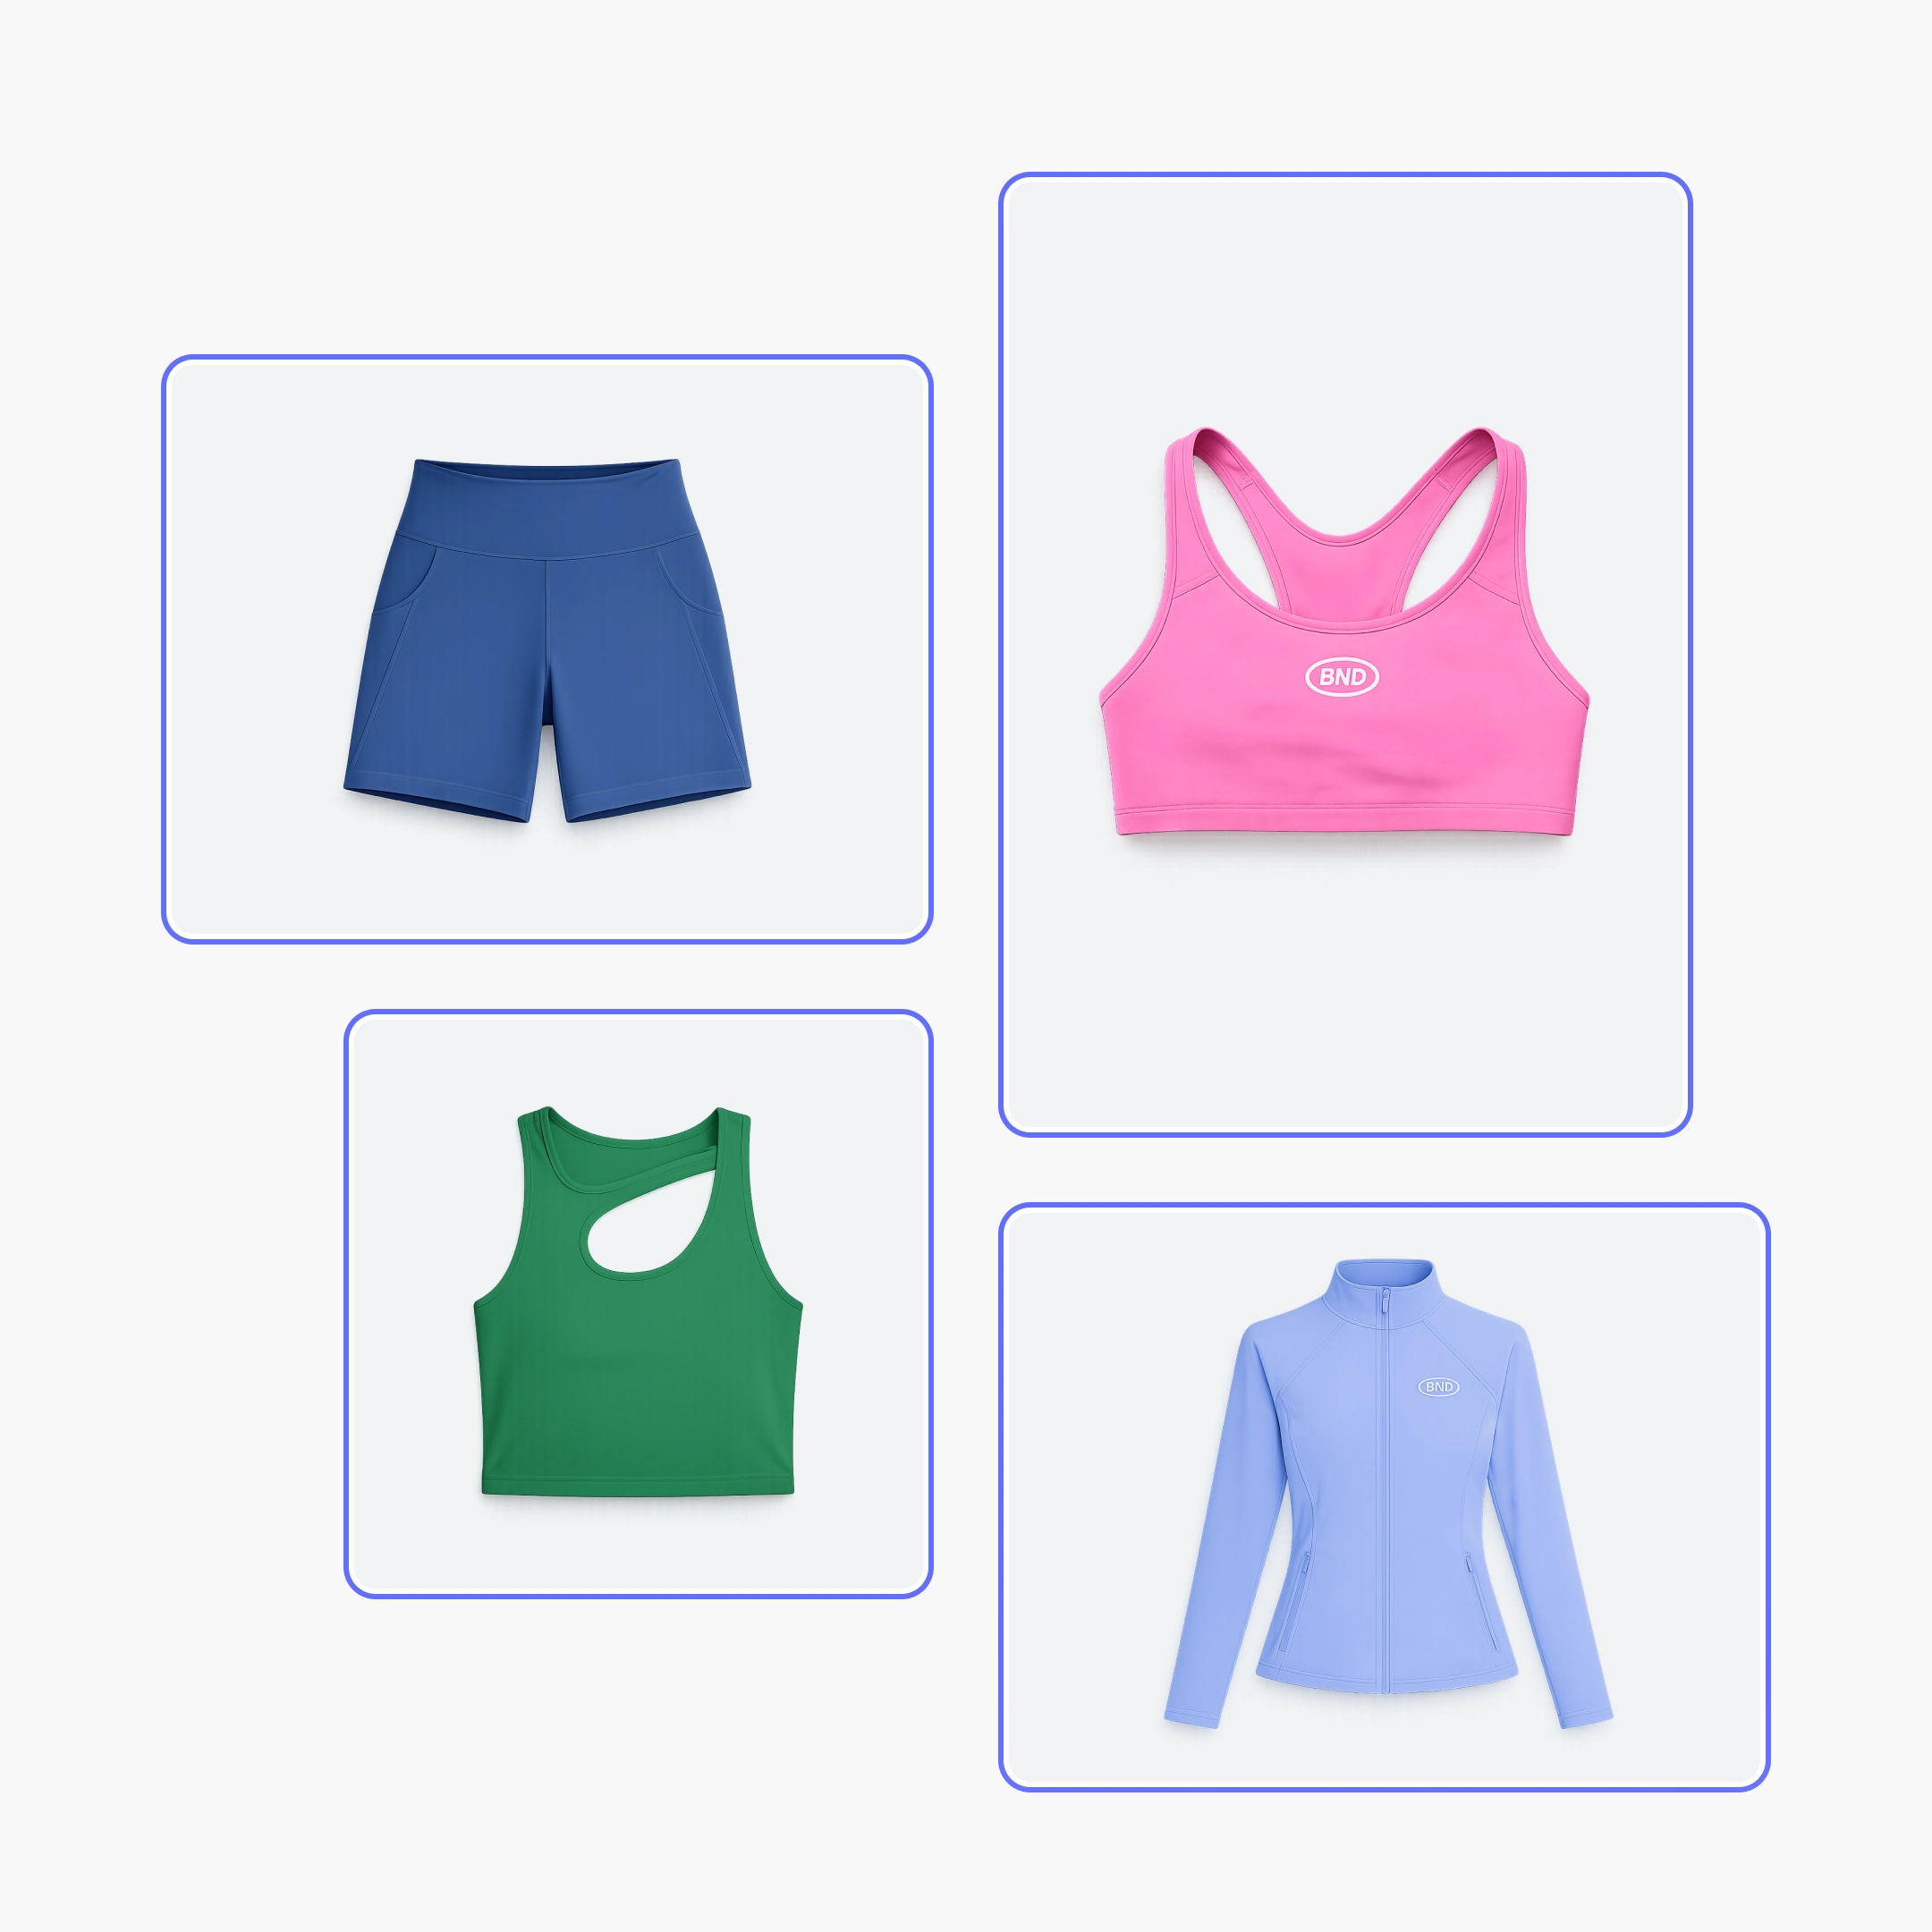
For example, a clothing company about to release a new line of jackets in multiple colors and materials could create a flat lay setup where they photograph each product within the same stylized frame. That way, all the images remain consistent. Or, they could even use Photoroom’s Flat Lay solution to create flat lay images out of regular product shots. Even if these shots have different color tones and other inconsistencies, Photoroom can clean up and standardize each image.
A flat lay format means the production team gets a repeatable structure they can run across thousands of SKUs. And it keeps customers’ attention on the most important part: your product. High-quality visuals can soothe a customer’s worries about accurate representation, building trust and encouraging them to buy. In marketplace listings, a wrinkled garment with deep shadows might be overlooked for a clear, detail-rich image with a minimal, undistracting background.
If you want to save time and streamline this workflow, Photoroom’s Flat Lay tool generates consistent, on-brand flat lay clothing photos in seconds. Teams working at scale can upload product images and generate standardized visuals near-instantly.
What equipment do you need for flat lay photography?
You don’t need a full studio and a professional photographer to shoot great flat lay photography. A few key pieces of equipment make all the difference.
Tripod
A tripod is non-negotiable—it keeps your camera angle and steadiness identical across every shot so your catalog is visually uniform.
Choose a tripod with a horizontal center column that lets you position your camera directly above the flat lay. You can also use a C-stand to extend your camera on a boom arm.
Flat surface
A warped table or wrinkled backdrop can distort the angle and shadows of your photos, so arrange your items on a sturdy surface like a countertop or table, and use a thick material like vinyl for the backdrop. Foam core is also a strong surface option because it's lightweight and easy to store when not in use.
Whatever you pick, keep it consistent: Using the same surface across shoots creates a visual baseline and reinforces your brand identity.
Camera
A digital single-lens reflex (DSLR) camera gives you the most control over focal length and aperture, but you don’t have to invest in new tech. Most smartphones today can also take high-quality images. And AI editing tools like Photoroom can smooth out any imperfections.
Tethering setup
Connect your camera directly to a computer monitor or laptop while you’re shooting so you can see the photos you’re taking on a bigger screen. This lets you identify focus issues and misaligned objects live, so you can avoid costly and time-consuming reshoots later on.
Flat lay photography: Lighting
The way light hits a product isn’t just a matter of preference. Clear, bright light is necessary for flat lay photography so your potential customers can see exactly what you’re selling. Getting the right lighting limits how many retakes you’ll need and how much time you have to spend adjusting brightness and contrast in post.
A studio light softened by a diffuser is the most reliable light source for flat lay photography. This provides soft, even brightness across your whole setup without any changes as the sun moves over the day. You can also use a large window, but work quickly to make sure the lighting stays the same across shots.
Consistent lighting is key for scalable photography workflows. Lighting that varies across shots means teams spend more time correcting color and exposure to introduce consistency later that could’ve been there from the start.

Flat lay photography: Backgrounds
The visuals’ background also shapes how your products are perceived. Avoid anything that pulls a viewer’s attention from the product. Busy backgrounds make images look cluttered, especially when you’re showcasing a single item, and colors that don’t offer enough contrast can wash out your product. Stick to a plain color or simple, consistent material for the most visual consistency and product clarity across images.
When choosing a flat lay background, also consider where and how you’re planning on sharing these product images. For example, flat lays for marketplace listings typically have white backgrounds to keep the focus on the product.
Flat lay photography setup and preparation: 5 steps for better workflows
Here’s a five-step production workflow that scales well as your catalog grows.
1. Plan your shots
Create a shot list that includes how many photos you need and in what formats. If you’re sharing the same item in different contexts, like in your internal catalog and on third-party marketplaces, note any requirements that differ between the two. Putting a list together ahead of time reduces decision-making during production so teams can move efficiently.
2. Choose your hero product
Identify the flat lay’s focal point. This is where the viewer’s eye goes automatically, and is typically the largest item in the image. For example, in flat lay fashion photography, you might use a leather jacket as the hero, with sunglasses and a folded scarf surrounding it. Or you might skip the product accessories (common for marketplace or catalog listings) so viewers focus solely on your product. This also means your production team has less work to do during setup and editing.
3. Prep your products
Pull everything you’ll need for the session—your products and any props you’ll use to style the flat lay—and stage it for easy access during shooting.
Then, assess and clean your products to save time in editing. For clothing and fabric items, steam or iron them to remove any wrinkles, folds, and uneven textures that will be magnified in high-resolution images. Use the same logic for non-fabric items: Remove dust and fingerprints from the items you’re photographing.
4. Set up your equipment
Position your tripod or C-stand so the camera is directly overhead your backdrop, parallel to the surface you’re using. Review the camera’s settings and set up any lighting equipment. Check your items for glare or awkward reflections as you set up, so you can adjust lighting as necessary.
Once your equipment is all in place, don’t move it—otherwise you might lose photograph consistency. Even small changes in lighting and perspective can make a big difference when looking at your product catalog as a whole.
5. Create a repeatable workflow
Take pictures or a sketch of your setup, including everything from the hero to the background choice and camera height, so anyone on your production team can replicate it later.
Editing flat lay images
Editing turns good flat lay shots into great ones, and that difference shows up in conversions. High-quality flat lay product photography creates strong first impressions, boosting customers’ purchase confidence.
For teams working on large numbers of images, post-production is often one of the biggest bottlenecks. This is because manual background removal and retouching are time-consuming and don’t scale well across hundreds or thousands of photos.
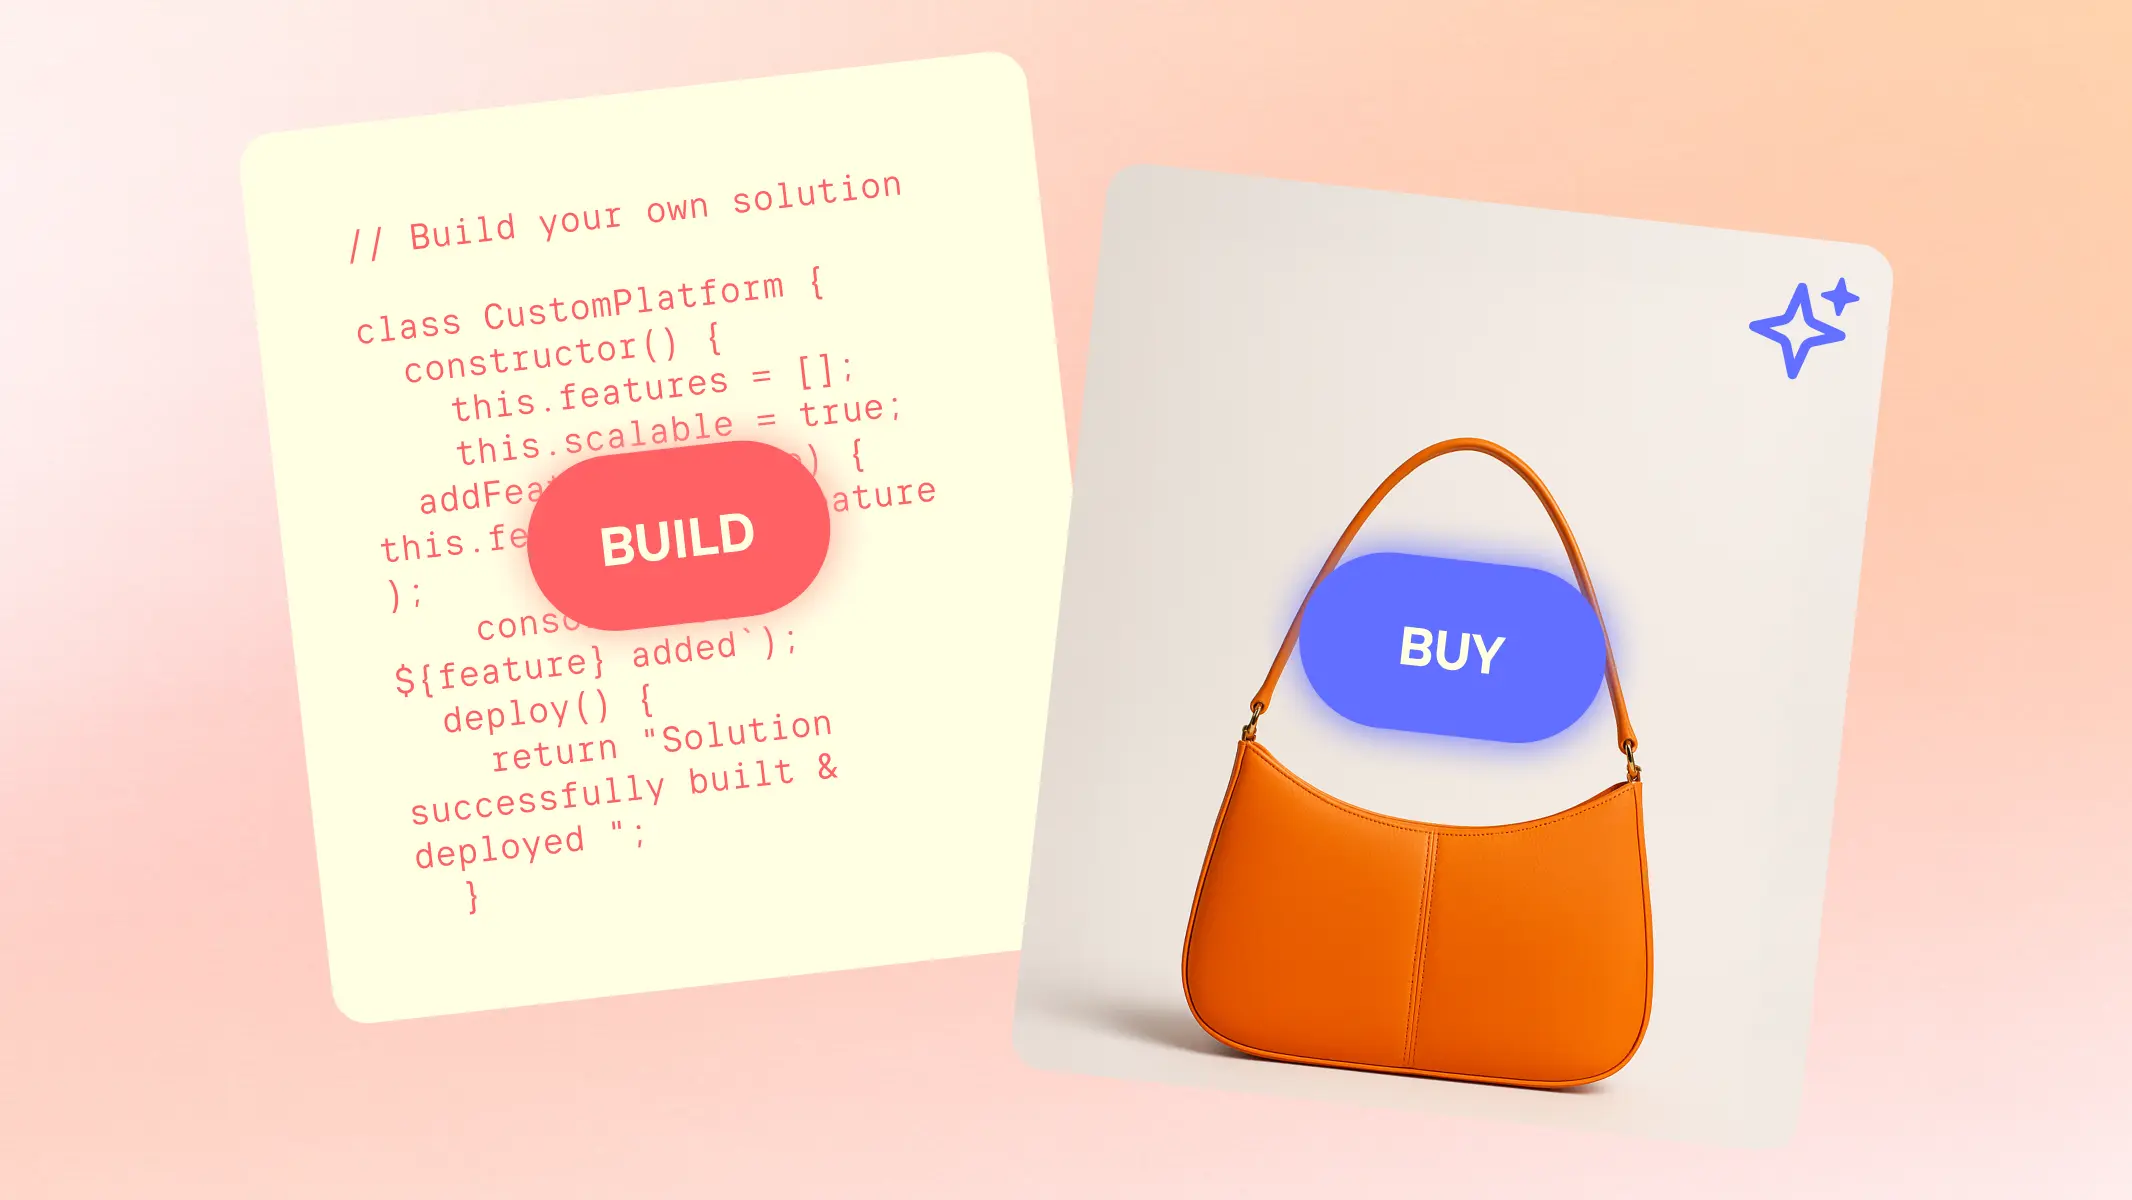
Photoroom streamlines this workflow. Instead of painstakingly editing each image manually, teams can automate background removal and formatting tasks with Photoroom’s Flat Lay tool. It was built to help you generate clear, consistent top-down product images. By focusing on your product’s texture, shape, and structure, viewers see your professionalism without sacrificing tons of your team’s time.
Other editing tools, like Photoroom’s AI Background Remover, Magic Retouch, and Batch Photo Editor, can also help you maintain visual consistency while dramatically reducing post-production time. If there are any shadows in the image, or if you just don’t like the way the background appears on screen, background removal pushes every image toward consistency. Color correction and retouching remove issues like wrinkles in clothes, and cropping can adjust any changes to camera position (but not angle). But save time during editing and start with Flat Lay—it does many of these steps automatically.
Create photography flat lays at scale with Photoroom
Successful flat lay photography comes down to consistency and preparation. Any e‑commerce team can create one great flat lay image, but the challenge is producing hundreds or thousands of consistent visuals quickly.
Photoroom’s Flat Lay tool solves this problem in seconds, automating the editing process with everything you need to turn raw images into professional visuals. With Photoroom, e‑commerce companies looking to scale their catalog and list their products in new marketplaces can get studio-quality results on thousands of photos almost instantly.
Download Photoroom from the App Store or Google Play, or use the web app to get started.